前言
第一次搭建静态博客,手还是有点生。
Hugo 和 Hexo 同属于一种通用的静态网站框架。严格来说,这类应该被称为静态网站生成器。其可方便的使用 Markdown 文件和主题一起编译成由 HTML、CSS、JavaScript 组成的静态网页。用户可以将生成的静态网页上传至 GitHub 后通过 GitHub 自带的静态页面托管服务(GitHub Pages)进行访问。
Hugo is a static site generator written in Go. Originally created by Steve Francia in 2013, Hugo has seen a great increase in both features and performance thanks to current lead developer Bjørn Erik Pedersen (since v0.14 in 2015[3]) and other contributors. Hugo is an open source project licensed under the Apache License 2.0.[4]. –Wikipedia
原来觉得 LeaveIt 很好看。 但是 LeaveIt 的作者好像已经停止维护更新,所以使用的是魔改版 LeaveIt:Mogege
准备工作
正文
安装 Git
如果您已经安装 Git 可以跳过此步。
首先前往 Git 官网下载对应版本的安装包。安装完后先快捷键 Win+R 输入 cmd, 再回按 Enter。
在命令行中输入如下指令来查看安装情况。
git version
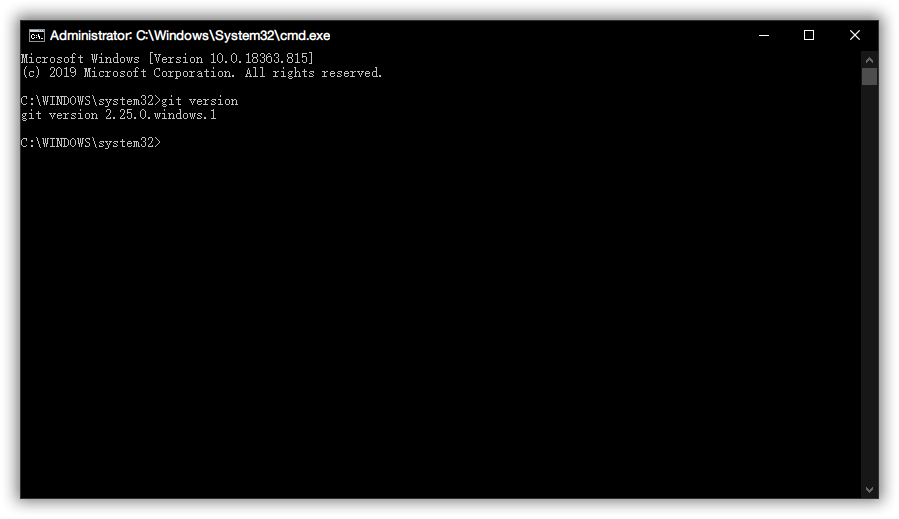
如果显示的是 Git 的版本号,说明安装成功。
注册 Github 账号
如果您已经拥有 GitHub 账号,请跳过此步骤。直接到登录页面输入 Username,Email,Password, 点击 Sign up to GitHub。
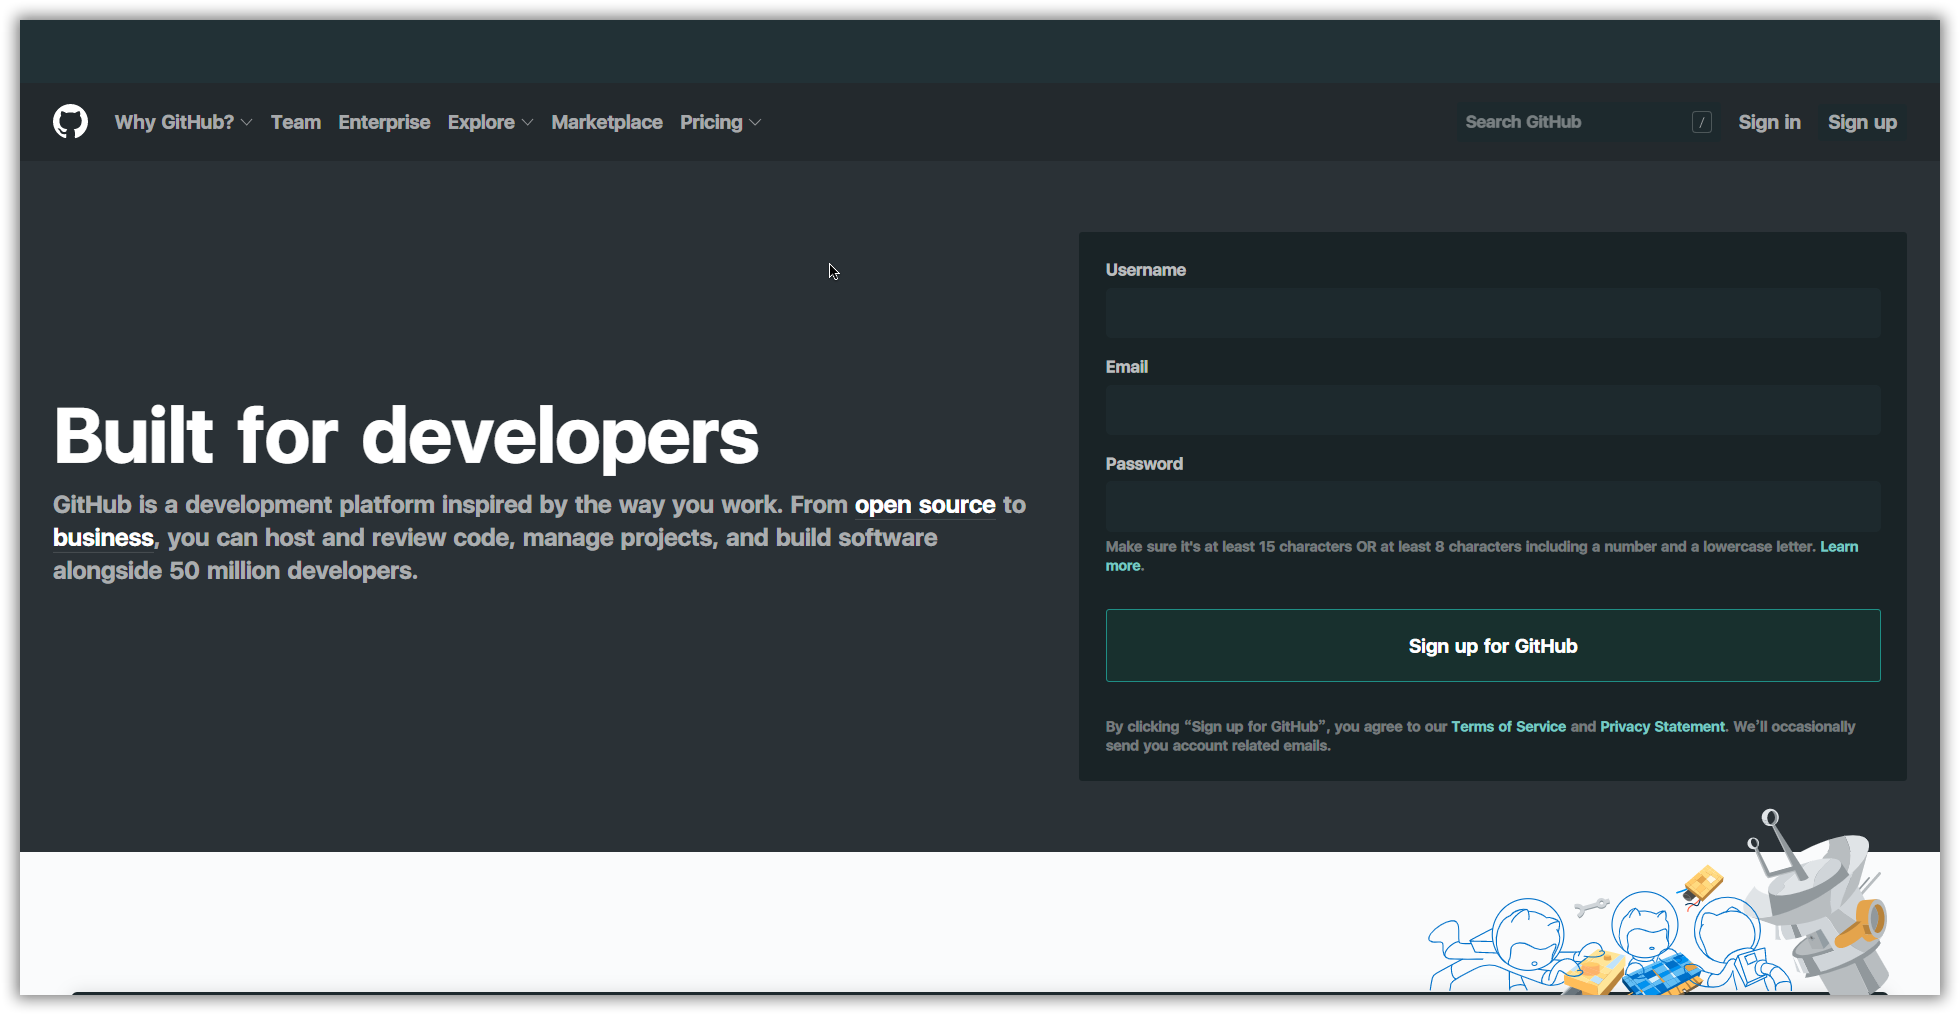 然后前往自己的注册邮箱确认注册信息。
创建代码库
登录之后,点击页面右上角的加号,选择 New repository。
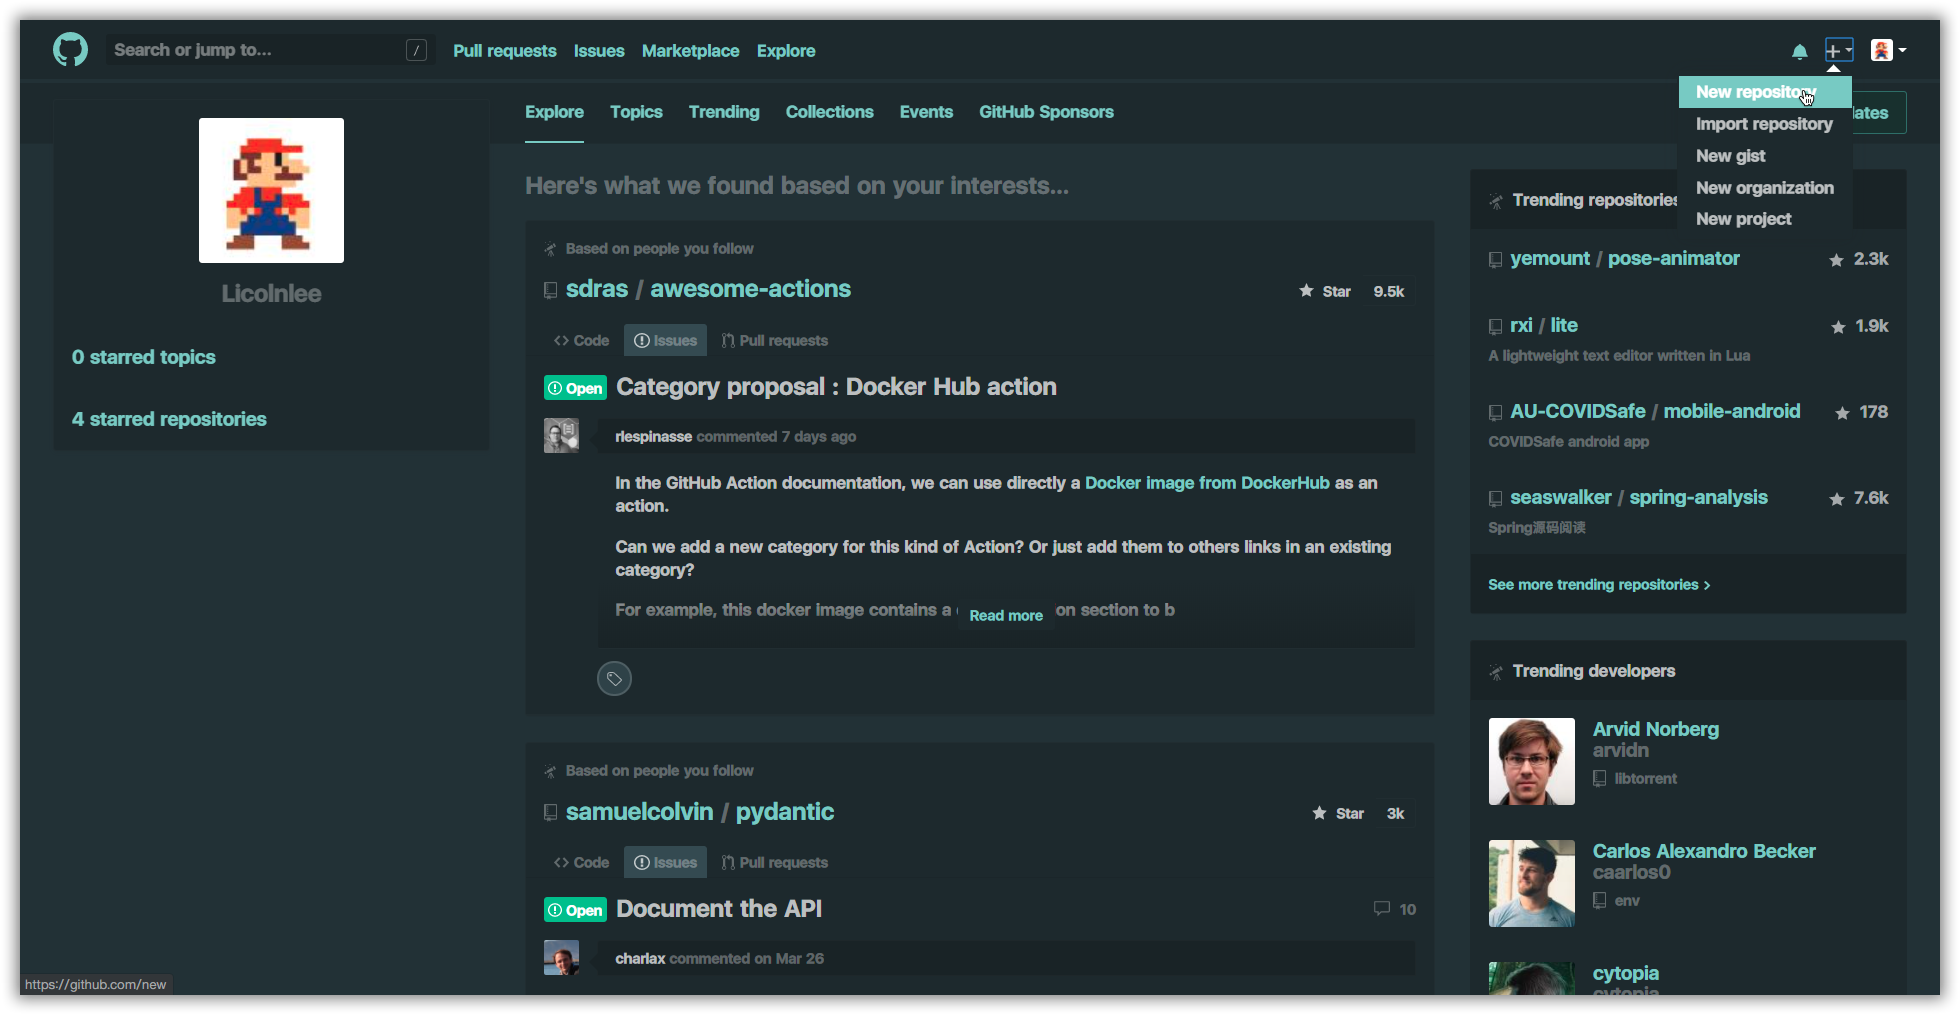 在
在 Repository name 下填写 [Your Username].github.io。
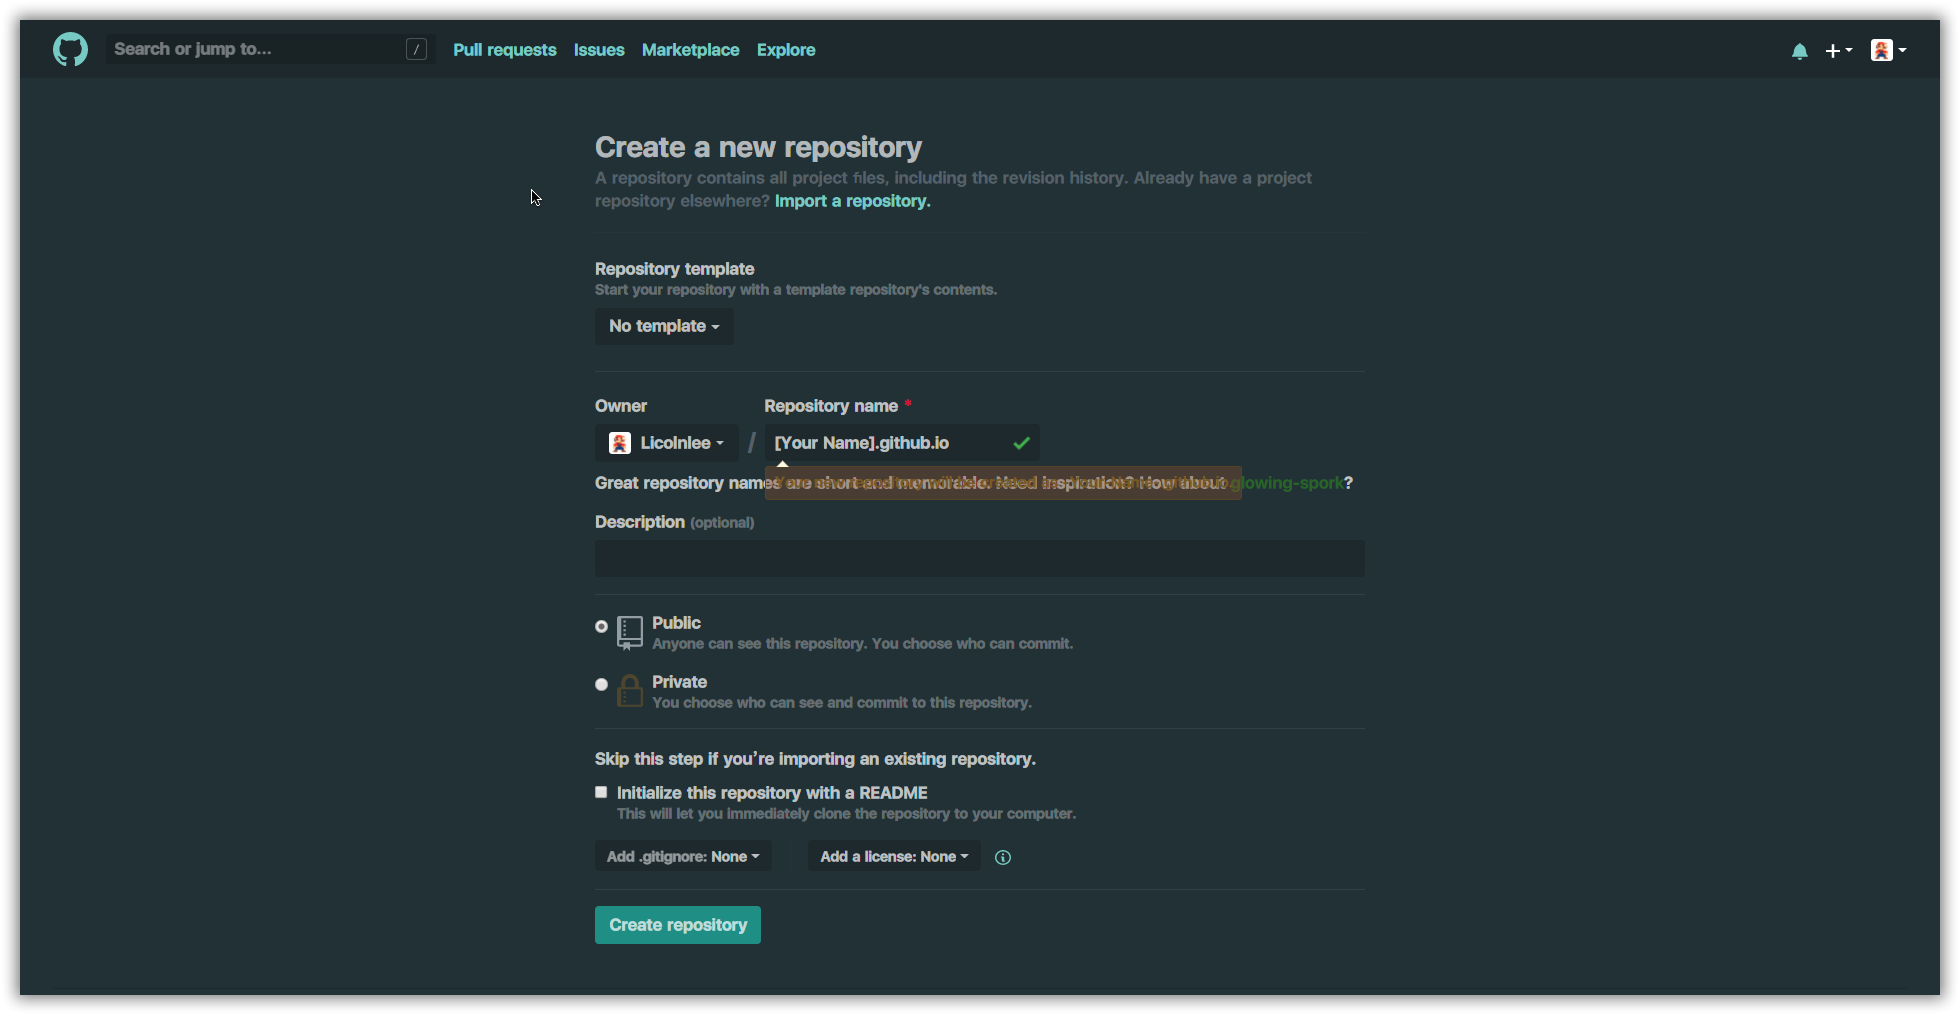 之后点击
之后点击 Create repository 以创建代码库。
此时只需要上传你的静态网站到此代码库 GitHub 就会自动部署你的网站到 [Your Username].github.io。 如果你没有重定向网站到独立域名的话。
Hugo
比较
 相比于 WordPress 和 FarBox 这样的动态博客生成器需要选购 VPS 服务器作为载体,Hugo 和 Hexo 等静态博客生成器非常符合白嫖党
 穷逼 薅羊毛需求。确实无需因为选购 VPS 产生一笔价格不菲的开销是最吸引我的亮点,但是选择 Hugo 还有如下考虑因素:
1. 资源占用上,静态的相比动态占用的服务器资源更少,还可以托管在 GitHub Pages 上进行部署。(虽然 GitHub 受到国内网络环境污染。
2. 访问速度上,由于静态博客没有数据库,所以访问速度更多取决于访问者的网速。
3. 安全性上,静态博客自动免疫了更多的 Web 攻击手段。
安装
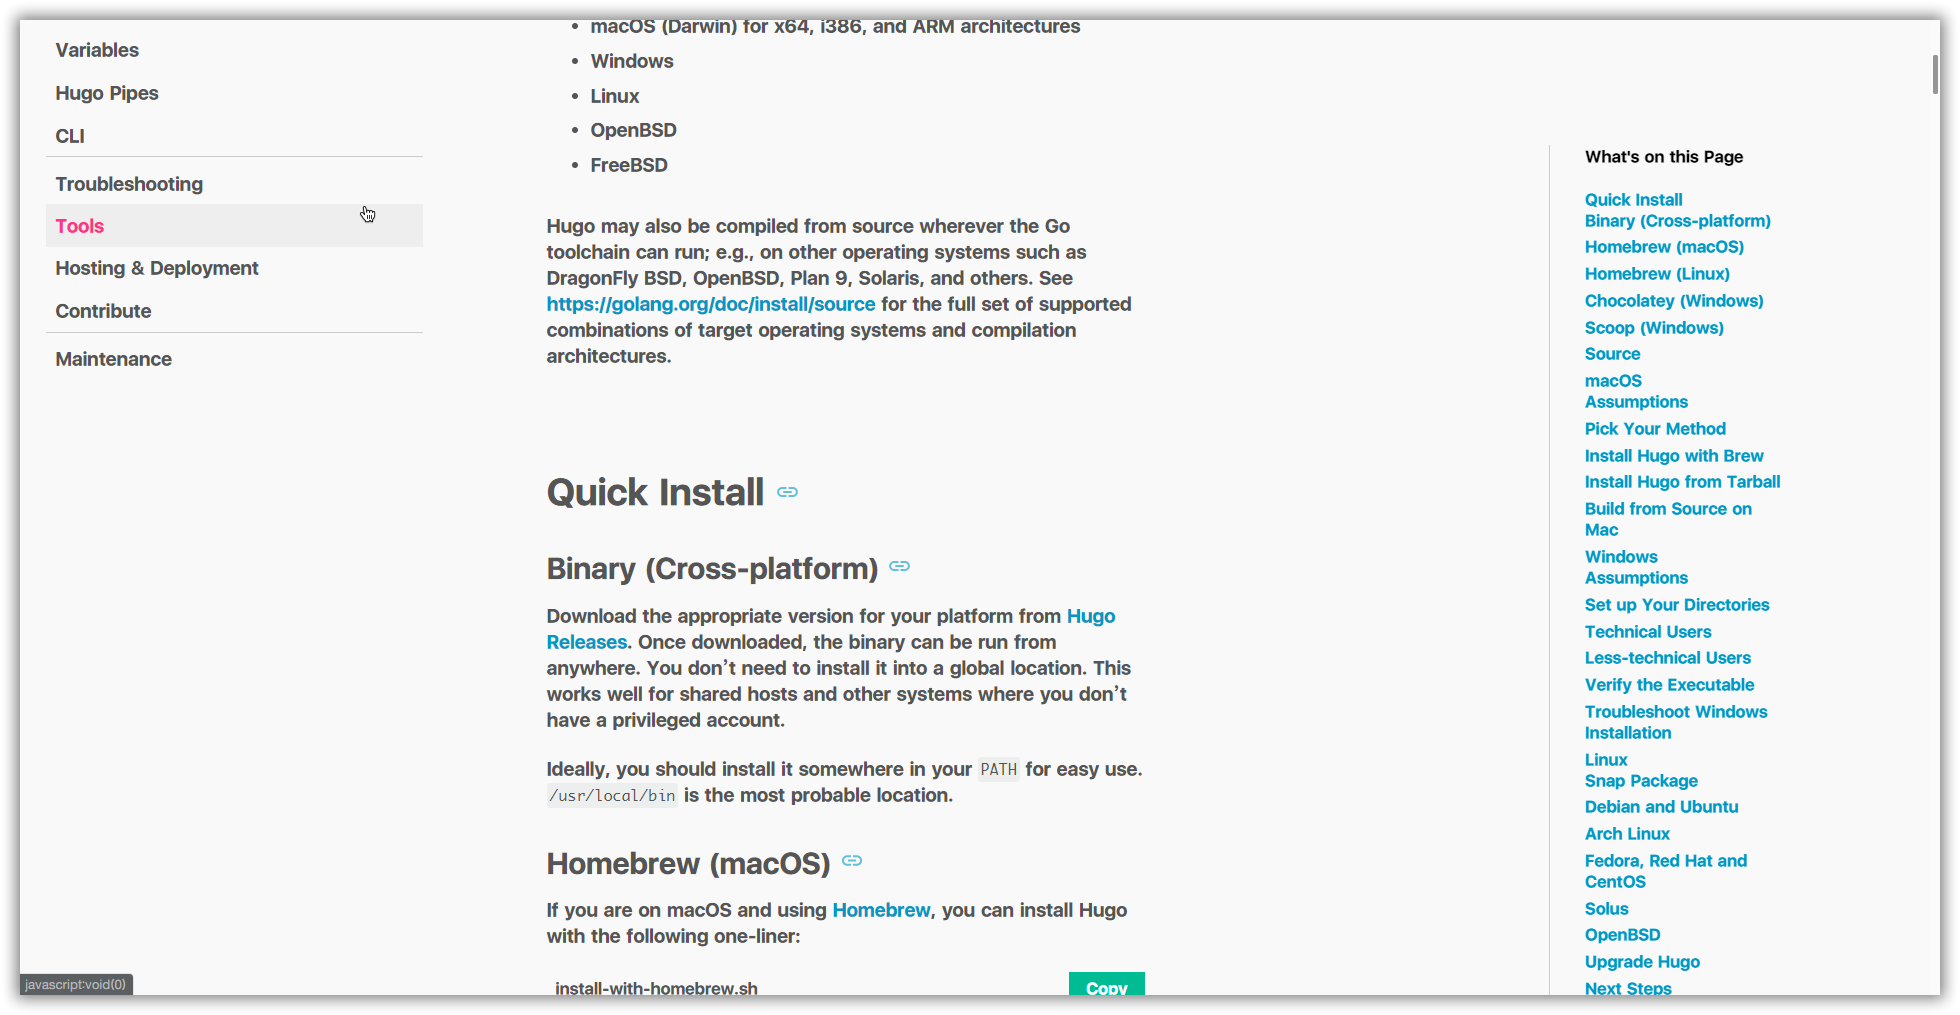 二进制版本方式安装本文将不再赘述,有需求的可以查看 官方文档 进行操作。
具体安装方式请根据各自系统情况在 官网下载页面 进行下载即可。
可视个人情况选择相应目录创建 hugo 文件夹,并自建 bin 目录和 sites 目录。
下载解压后需要将可执行文件 (以 hugo.exe 为例) 放入自建目录下的 bin 目录。如果需要使用全局指令,记得需要在环境变量的 PATH 中加入 Your Disk Letter:\Your Folder\bin。
初始化
下面需要在你选好的路径的 sites 目录下执行
hugo new site myBlog
这会在你的 sites 目录下新建一个 myBlog 文件夹来存放你博客的源代码。执行 cd myBlog 进行文件夹。
此时目录结构应该是这样的。
. ├── archetypes # 内容类型,在创建新内容时自动生成内容的配置 ├── content # 网站内容,Markdown 文件 ├── data ├── layouts # 网站模版,选择主题后会将主题中的
layouts文件夹中的内容复制到此文件夹中 ├── static # 包含 CSS、JavaScript、Fonts、media 等,决定网站的外观。选择主题后会将主题中的static文件夹中的内容复制到此文件夹中 ├── themes # 存放主题文件 └── config.toml # 网站的配置文件
安装主题
 本站使用的主题是Mogege
在博客根目录下执行命令。
git clone https://github.com/Mogeko/mogege.git themes/mogege
创建新页面
可以自行在相应的文件夹内创建新页面。
hugo new [Your dir]/[postname].md
此时 content 目录下就会多一个 Markdown 文件,并且会自动生成时间,文件名等信息。
---
title: "postname"
date: 2020-05-08T22:19:39+08:00
draft: true
---
两条 --- 之间的信息是文章的配置信息,有的信息是自动生成的(比如:title、date 等),简单介绍下各项配置:
以下项目为自动生成:
title: #文章标题date:# 写作时间draft:# 是否为草稿,如果为true则在正式页面中不会展示出来。
以下项目需自行添加:
description:# 描述tags:# 标签,用于文章分类categories:# 类别,用于文章分类author: #作者
自动生成 和 自行添加 的内容并不是绝对的,你可以根据个人喜好配置相应的模板文件 archetypes/default.md。
配置 config.toml
config.toml 用于存放整个网站的配置信息。
一般在选择 themes 之后,其自带的 exampleSite 中会有相应的 config.toml 文件,建议使用以防止出现兼容性问题。
以下是 Mogege 自带的 config.toml 模板,按照需求更改。
baseURL = "https://example.com"
title = "Mogeko`s Blog" # 浏览器的标题
languageCode = "zh-cn" # 语言
hasCJKLanguage = true # 开启可以让「字数统计」统计汉字
theme = "mogege" # 主题 (需要自己下载)

paginate = 11 # 每页的文章数
enableEmoji = true # 支持 Emoji
enableRobotsTXT = true # 支持 robots.txt


preserveTaxonomyNames = true

[blackfriday]
  hrefTargetBlank = true
  nofollowLinks = true
  noreferrerLinks = true

[Permalinks]
  posts = "/:year/:filename/"

[menu]
  [[menu.main]]
    name = "Blog"
    url = "/post/"
    weight = 1

  [[menu.main]]
    name = "Categories"
    url = "/categories/"
    weight = 2

  [[menu.main]]
    name = "Tags"
    url = "/tags/"
    weight = 3

  [[menu.main]]
    name = "About"
    url = "/about/"
    weight = 4

[params]
    since = 2017
    author = "Mogeko"                          # Author's name
    avatar = "https://mogeko.me/blog-images/r/me/avatar.jpg"           # Author's avatar
    subtitle = "Just for Fun"                  # Subtitle
    home_mode = "" # post or other
    enableGitalk = true # gitalk 评论系统

    google_verification = ""description ="Mogeko 的个人博客 "# (Meta) 描述
    keywords = "" # site keywords

    beian = ""baiduAnalytics =""
    googleAnalytics = "UA-104502658-2" # Google 统计 id

    license= '本文采用 <a rel="license"href="http://creativecommons.org/licenses/by-nc/4.0/"target="_blank">知识共享署名 - 非商业性使用 4.0 国际许可协议</a> 进行许可 '[params.gitalk] # Github: https://github.com/gitalk/gitalk
    clientID = "" # Your client ID
    clientSecret = "" # Your client secret
    repo = "" # The repo to store comments
    owner = "" # Your GitHub ID
    admin= ""# Required. Github repository owner and collaborators. (Users who having write access to this repository)
    id= "location.pathname" # The unique id of the page.
    labels= "gitalk" # Github issue labels. If you used to use Gitment, you can change it
    perPage= 15 # Pagination size, with maximum 100.
    pagerDirection= "last" # Comment sorting direction, available values are 'last' and 'first'.
    createIssueManually= true # If it is 'false', it is auto to make a Github issue when the administrators login.
    distractionFreeMode= false # Enable hot key (cmd|ctrl + enter) submit comment.
生成网站
设置好 config.toml 后我们可以执行以下指令查看效果:
hugo -D server
当看到如下信息时既可以通过 http://localhost:1313/ 访问到你的博客了:
Environment: "development"
Serving pages from memory
Running in Fast Render Mode. For full rebuilds on change: hugo server --disableFastRender
Web Server is available at http://localhost:1313/ (bind address 127.0.0.1)
Press Ctrl+C to stop
但是此时只能在本地访问(相当于预览博客,并且可以随时更改),如果需要发布到 GitHub Pages 则需要将之前 draft: 改为 false 值然后执行命令:
hugo
此时你的博客目录下就会生成一个 public 文件夹,这便是 Hugo 生成的静态网站。
发布
不像 Hexo,Hugo 并没有提供自动部署到 GitHub Pages 的功能。需要自行将 public 中的内容手动上传到你 GitHub 之间的 github.io 代码库中。
首先执行命令 cd public 进入到 public 文件夹中,然后执行:
git init
git remote add origin https://github.com/[Your Github Username]/[Your Github Username].github.io.git
git add -A
git commit -m "[Comments]"
git push -u origin master
以后更新只需要执行以下命令:
git add -A
git commit -m "[Comments]"
git push -u origin master